Creating an Event With a Seating Map
Jun 25, 2026Updated00
Create a New Event
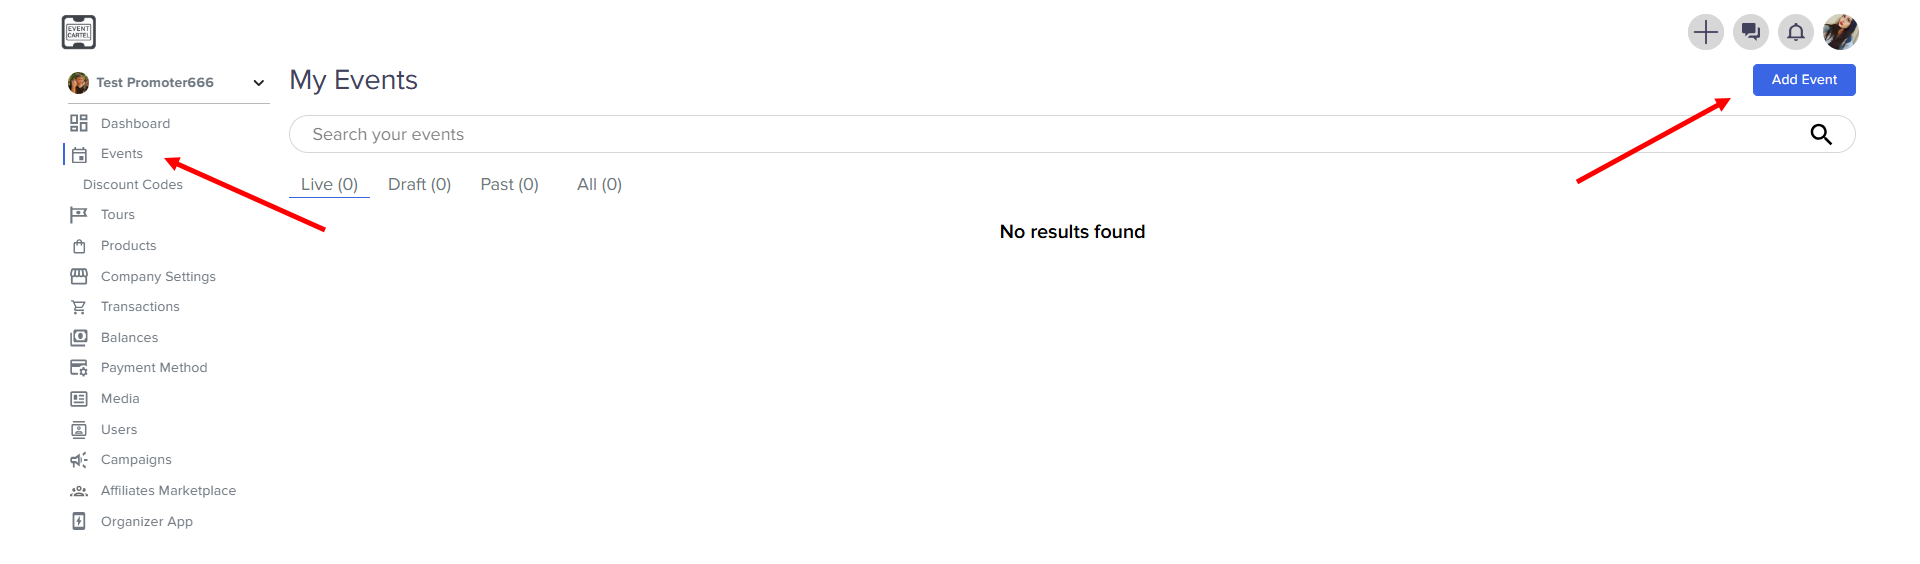
- Log in to your EvenCatrel account
- Go to Events → click Add Event
Step 1: Add Event Details
- Upload a cover image
- Enter the Event Title
- Select category
- Select currency
- Select artists (if there is an artist at your event), by typing their name, if your artist is not in our database, you can add them at this step → click Next
- Upload a cover image
- Enter the Event Title
- Select category
- Select currency
- Select artists (if there is an artist at your event), by typing their name, if your artist is not in our database, you can add them at this step → click Next
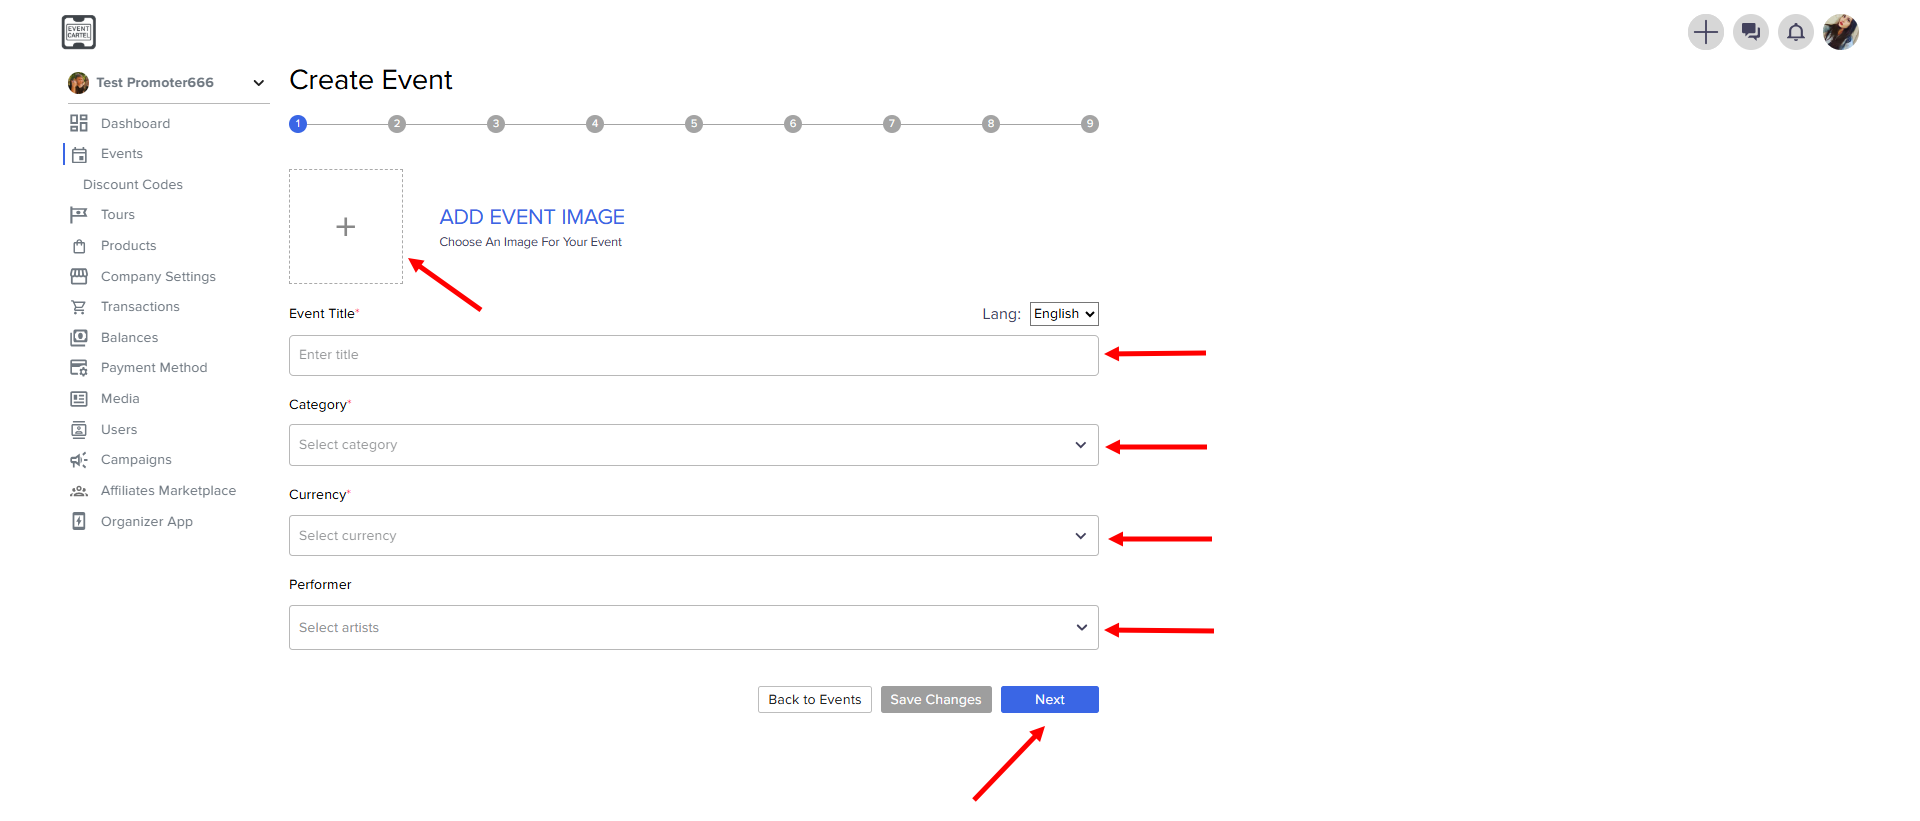
Tip: by clicking Next, your progress is automatically saved.
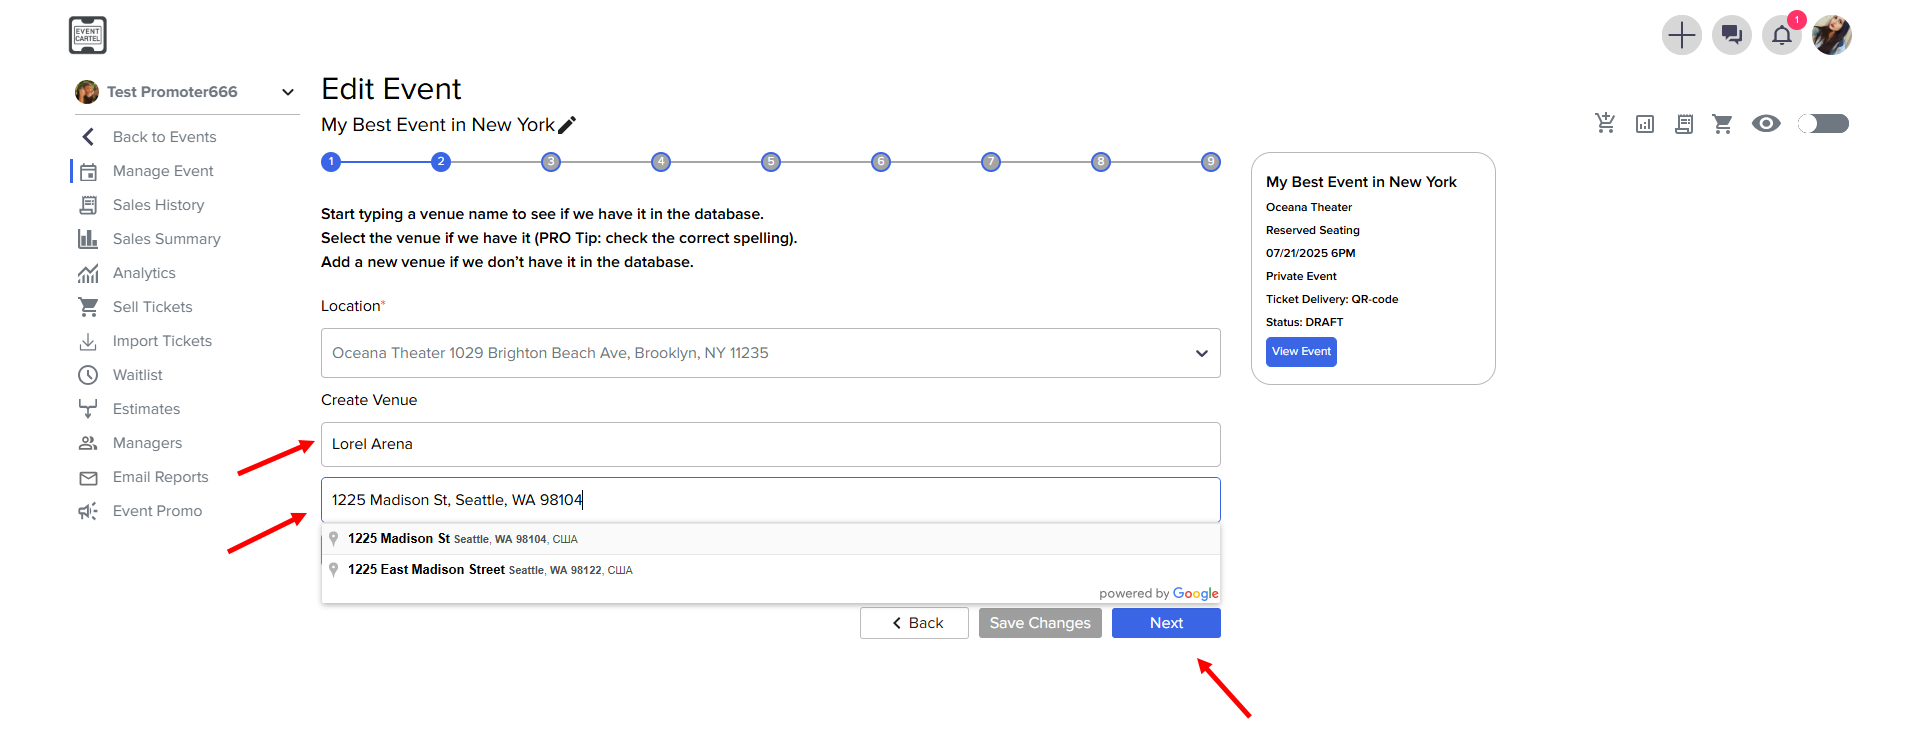
Step 2: Start typing the name of the venue and select it from the list
→ click Next
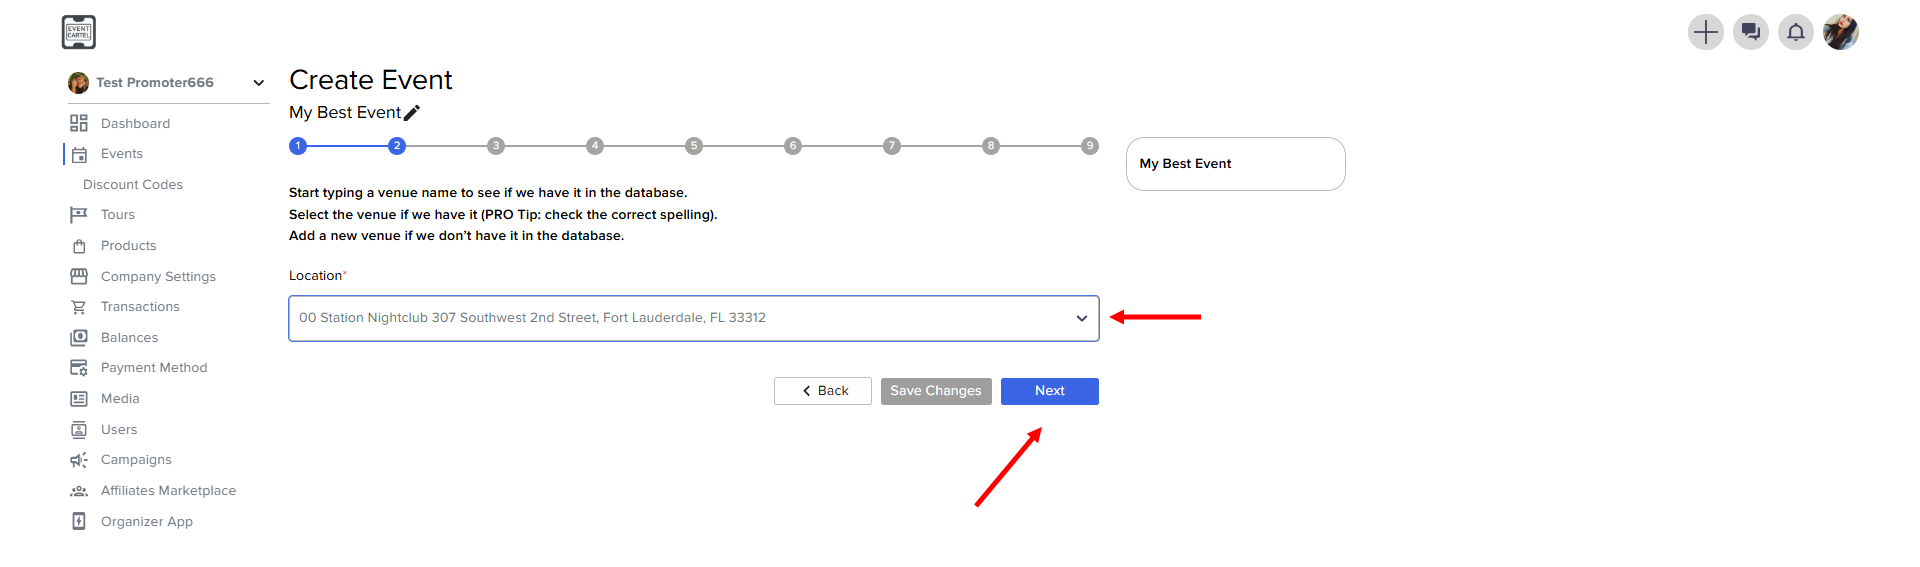
Tip: If the required venue is not in the database, you will be prompted to create a new one
- Enter the name of the venue → select the address → click Submit location → click Next
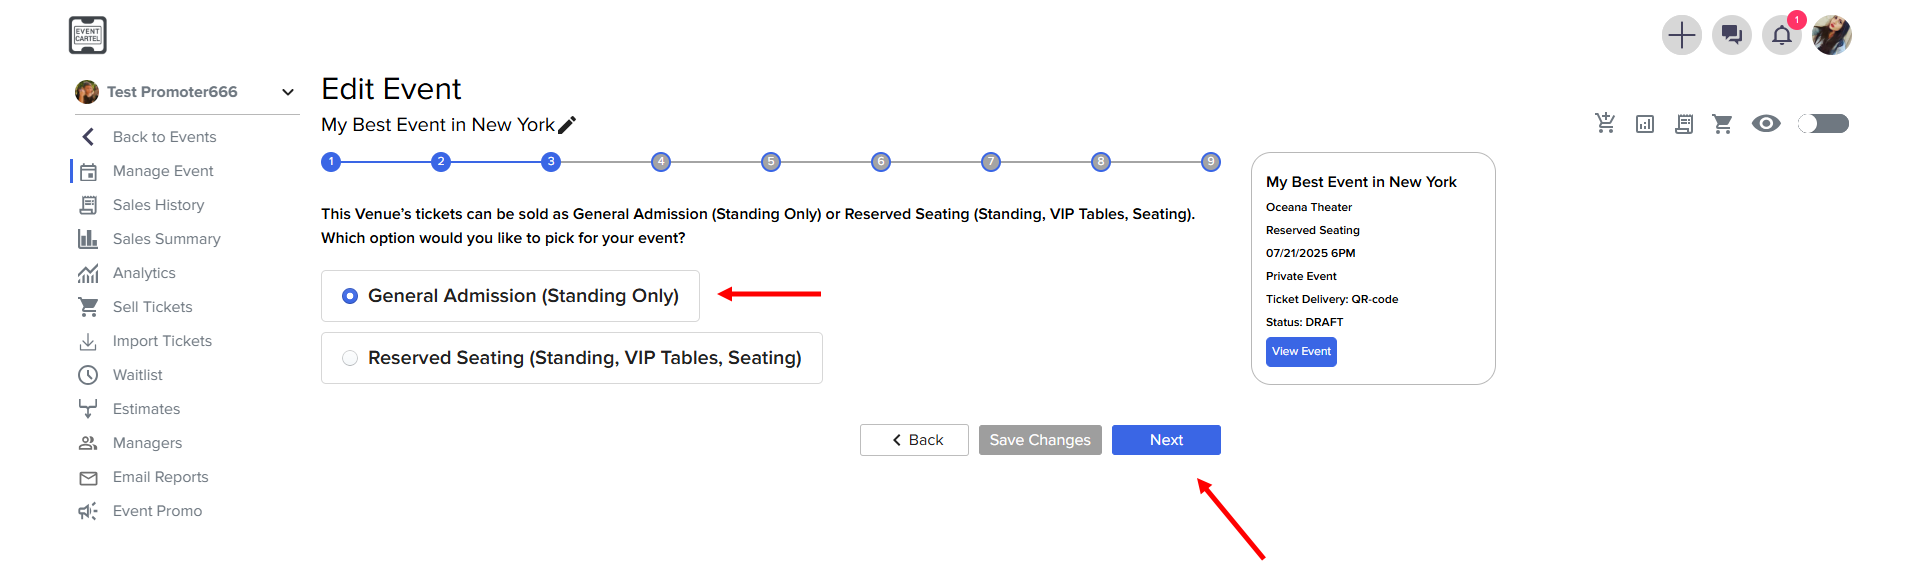
Step 3: Select Reserved Seating (Standing, VIP Tables, Seating)
→ click Next
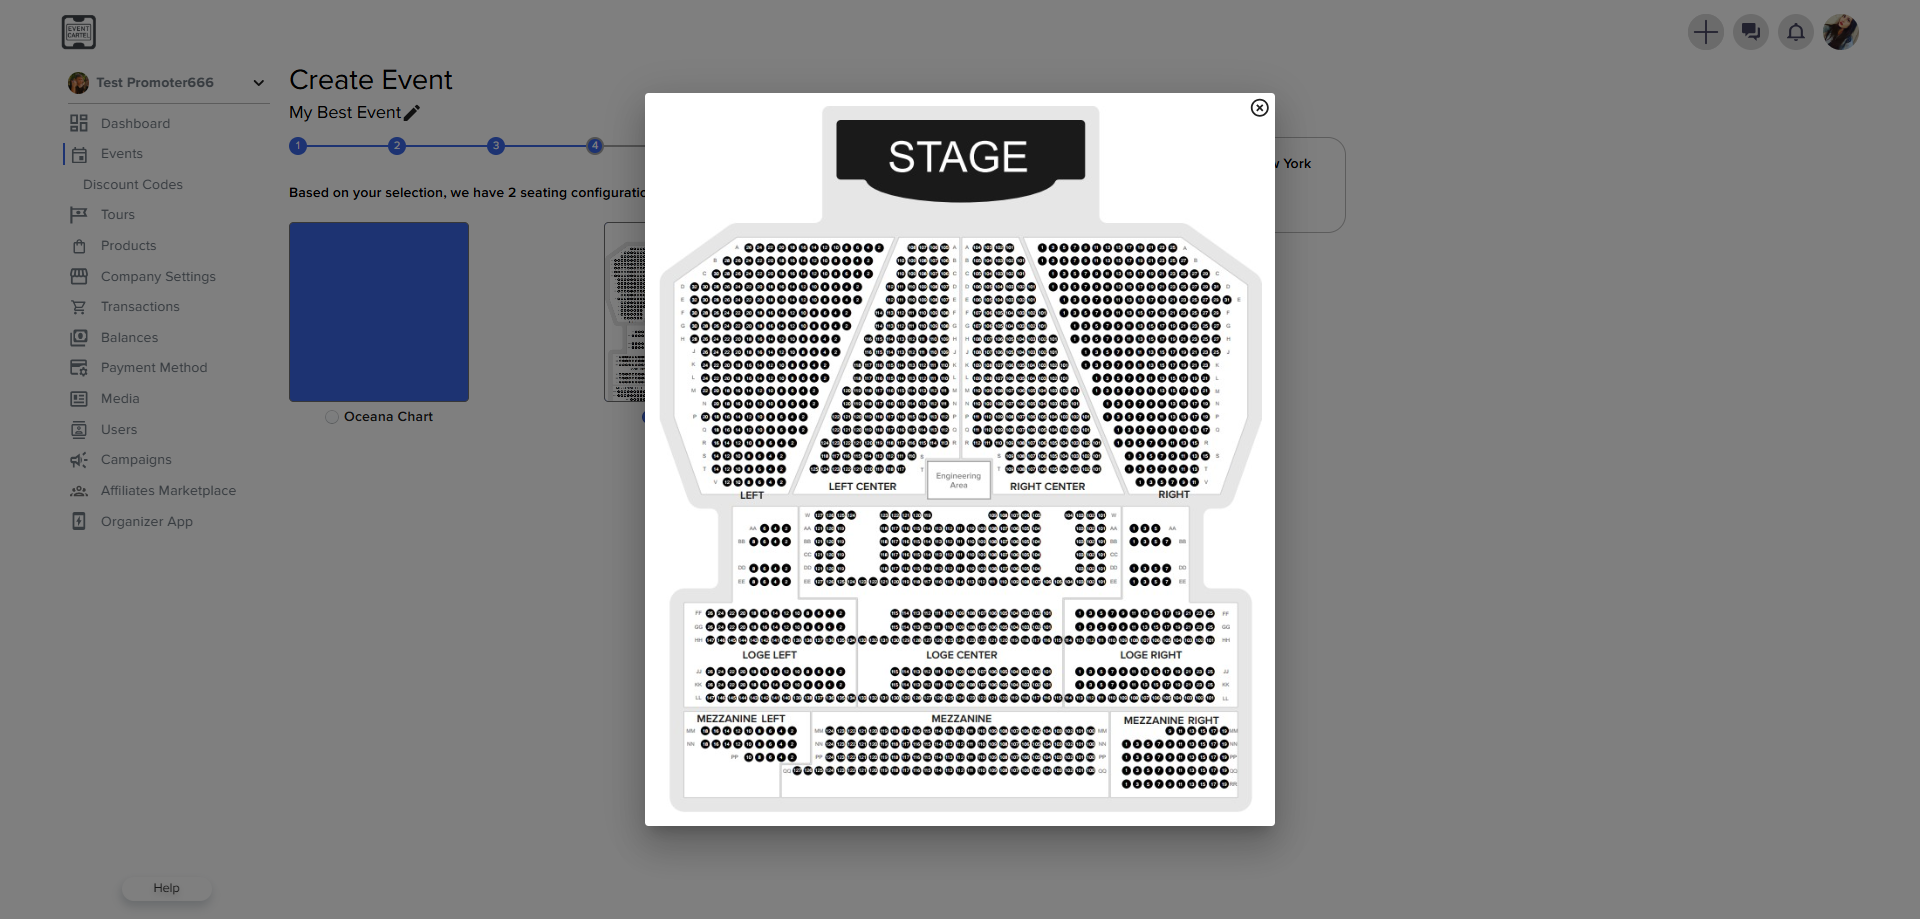
Step 4: Select seating configuration for reserved seating events
- Choose a seating arrangement → click Next

Tip: you can zoom in on the diagram and look at it more closely
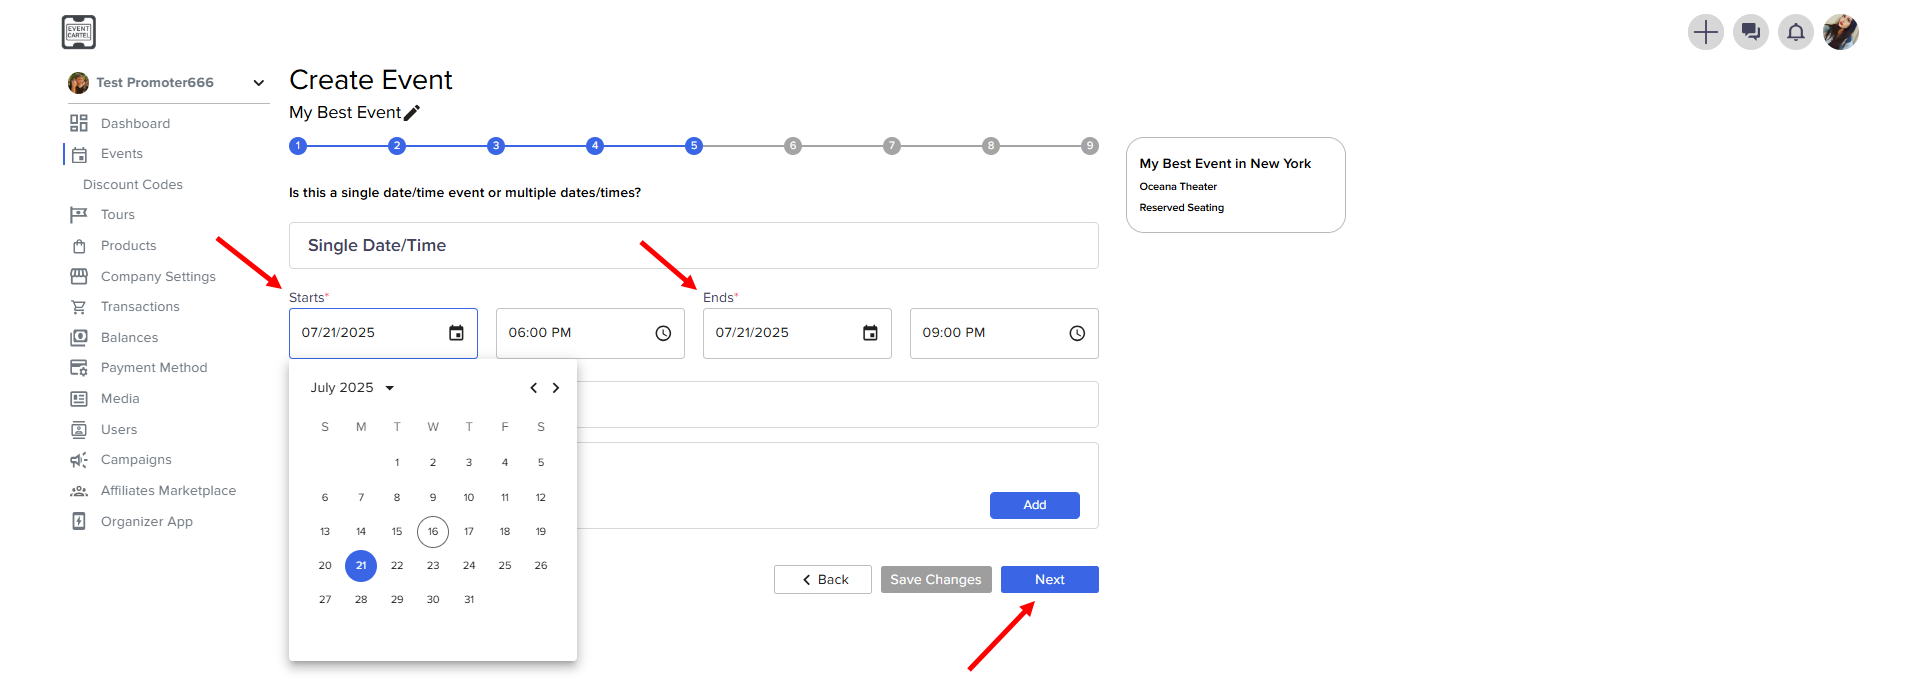
Step 5: Set the Date and Time
- Add the event's start and end date/time → click Next
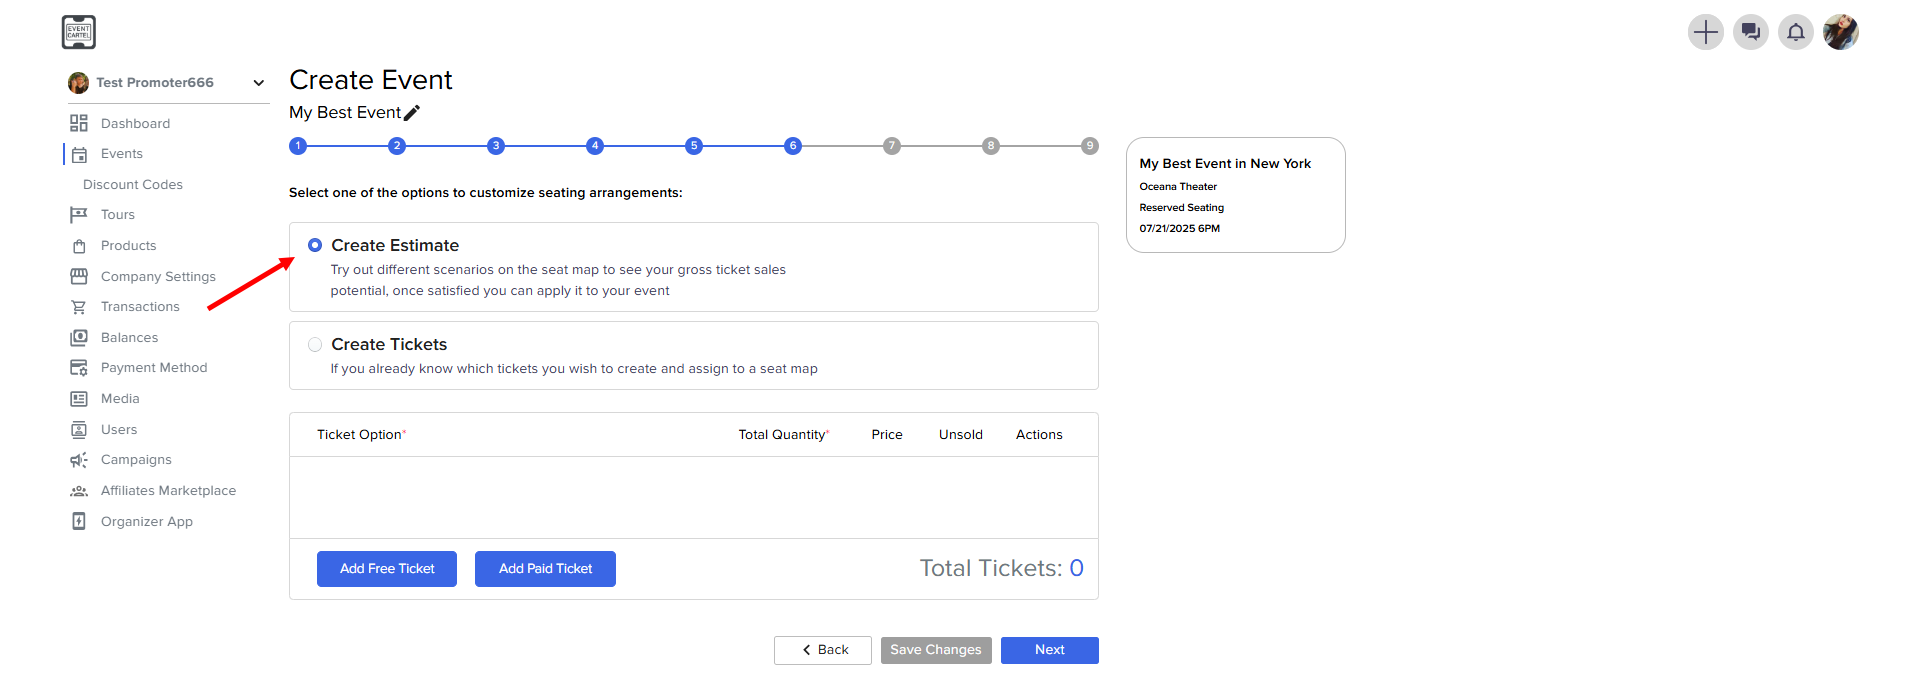
Step 6: Add Ticket Options
- Select Create Estimate
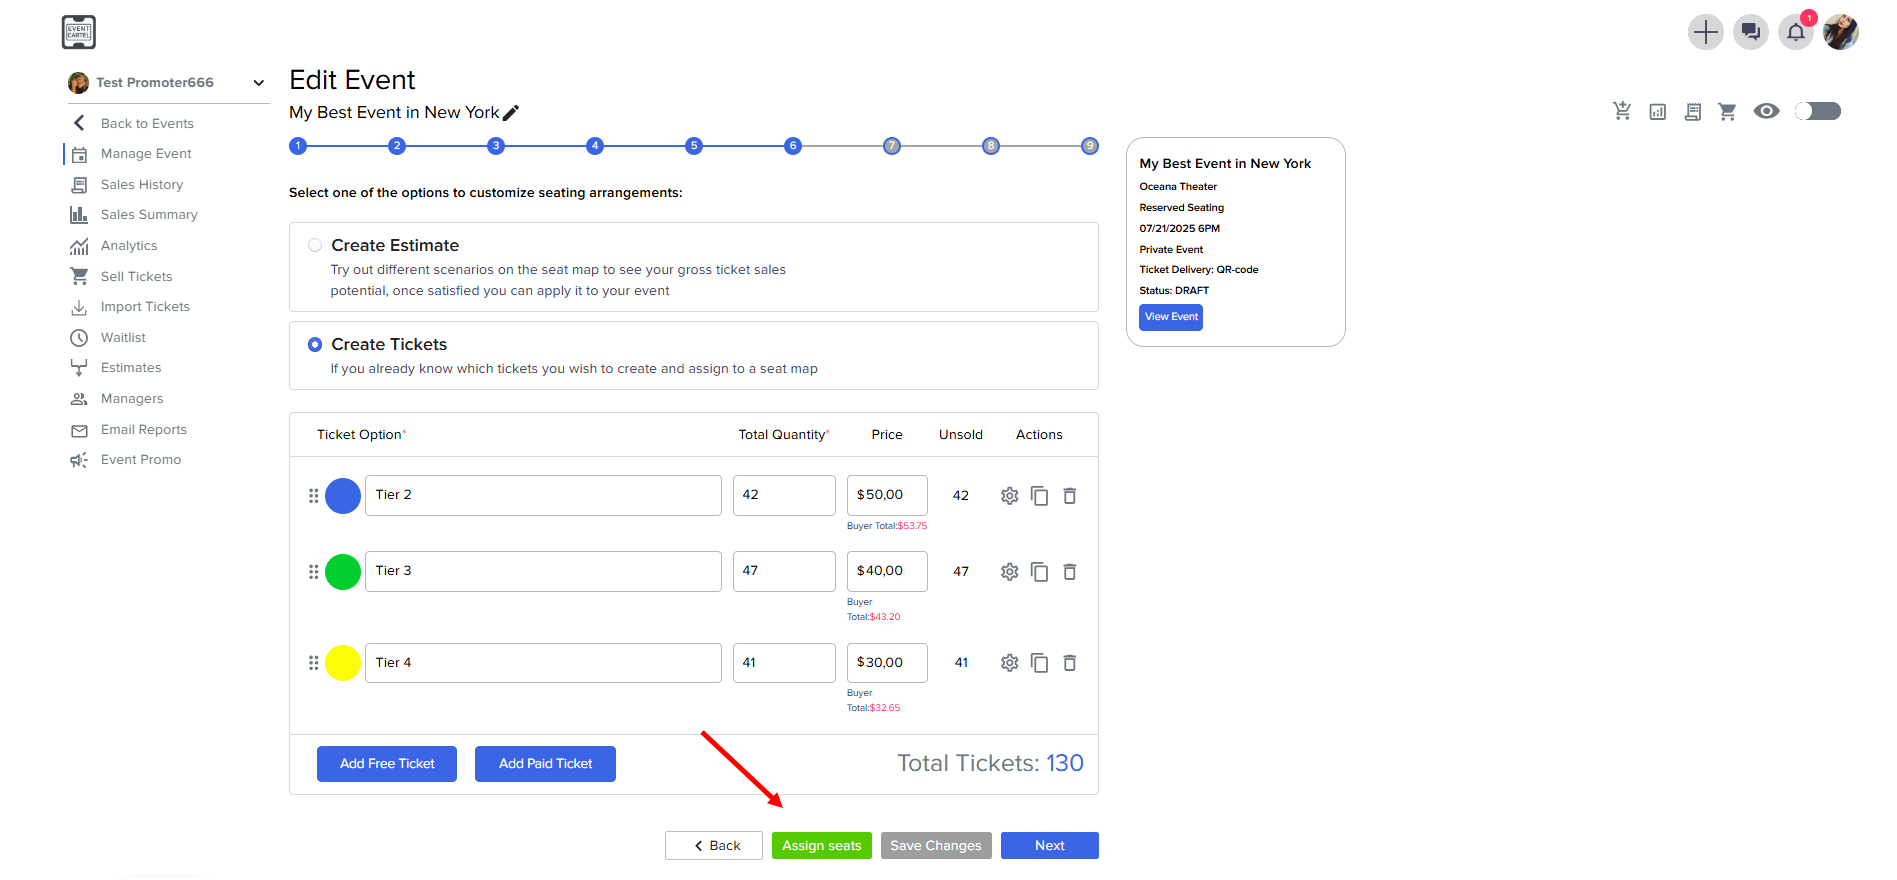
To edit the seat assignment, click Assign seats
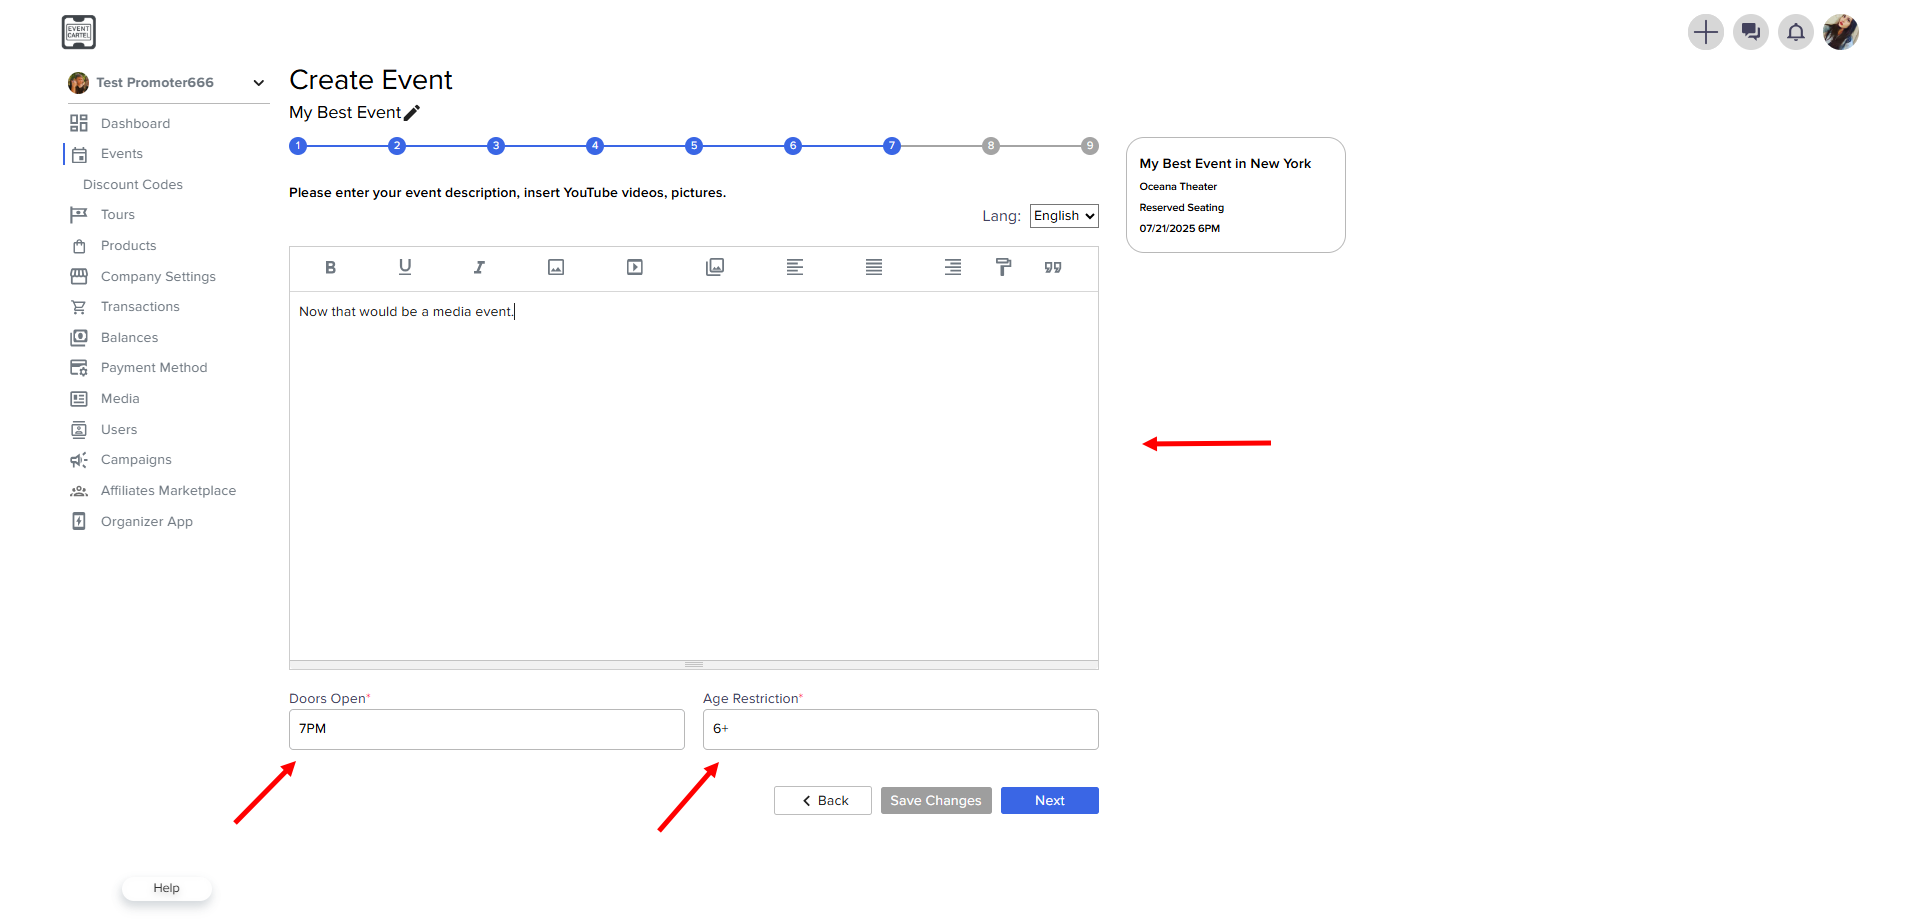
Step 7: Enter your event description
- The event description area allows you to upload Youtube videos and images.
- Enter door opening time and Age Restriction → click Next
Step 8: Event Settings
- Event Privacy allows you to make your event private.
- Ticket Delivery - select how you want to deliver your tickets to the customers from 3 available options: E-ticket, Will Call or Add one or multiple shipping options if you are shipping physical tickets. Please note if selected Will Call or Shipping, your customers will NOT receive a QR Code ticket via email, text or in the app.
- Donation options - if you would like to give your customers ability to donate money to you, at the time of ticket purchase, just click this option to activate it. Customers will be able to enter the amount they wish to donate, or skip this step.
- Create Attendee Registration Questions - fell free to add as many registration fields as you need, you can ask things like: "How many kids in this order?" to determine the amount of gifts to prepare for each order, or "which team you wish to be added to?" for Bar Games and Quizzes, or anything you like pretty much. Those questions will be mandatory step in the checkout process, meaning the customer will HAVE TO answer those in order to complete the checkout.
- Event policy Text - enter important event policies like "Minors can only be allowed to attend the event with a legal representative"
- click Next
Tip: You can check how your event looks by clicking View Event

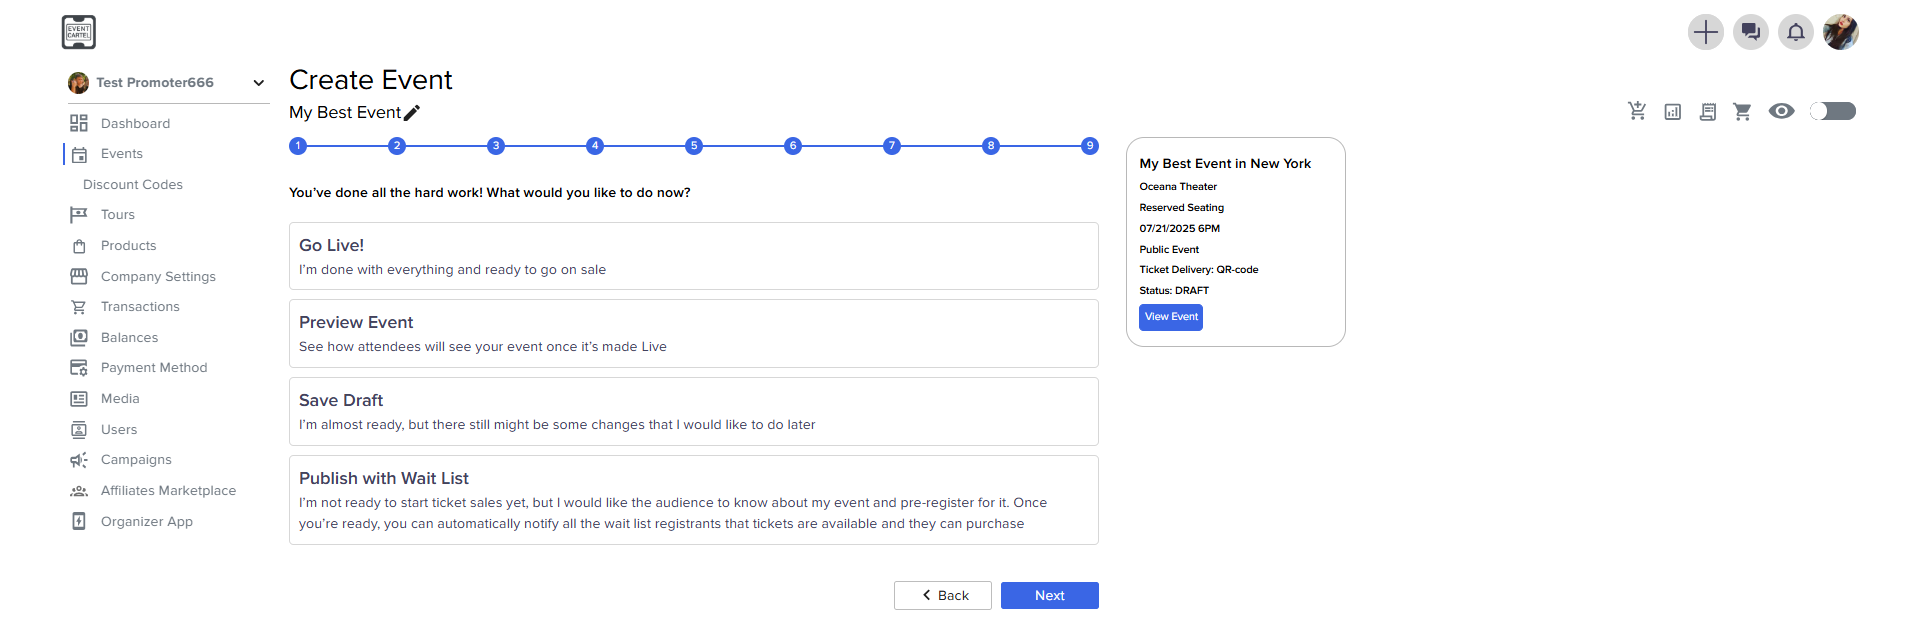
Step 9: Good job! Now you can put your event up for sale immediately or save it for review.
- Go Live - the event will be put up for sale.
- Preview Event - see how your event looks like for customers.
- Save Draft - if you are not ready to put the event up for sale, save it here.
- Publish with Wait List - if you are not ready to start selling tickets, but you already want your event to be seen by customers, and start collecting registrations to gauge the demand.
→ click Next