Event description editor features
Sep 15, 2026Updated4 min read00
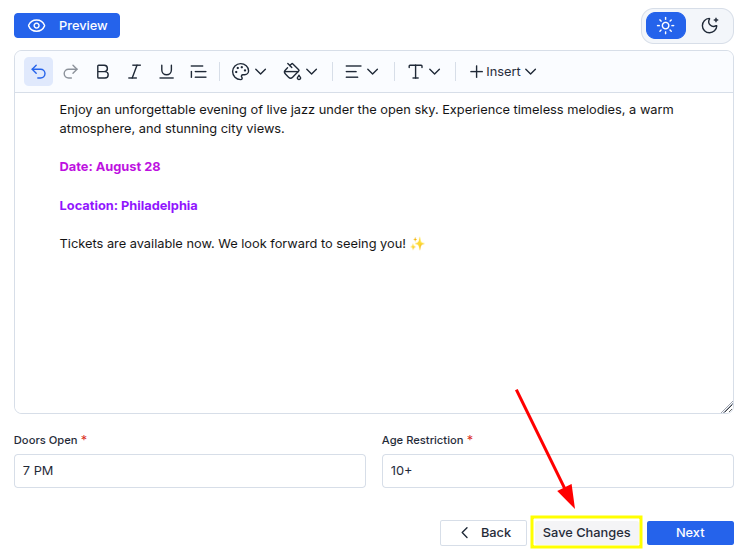
You can make your event description more attractive and informative using the built-in editor. It allows you to format text and add images, videos, slideshows, polls, and other elements.
The editor is located in step 7 of the event creation process.
Please note: Many examples in this article are presented as slideshows. Use the arrows to view all screenshots.
Selecting the description language:
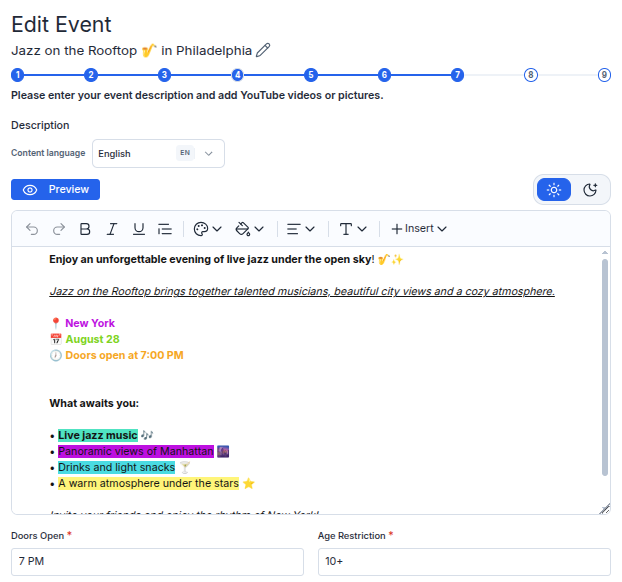
In the "Content language" field, select the language in which you will add the event description.
If the description is provided in only one language, it will be translated automatically. However, we recommend adding a separate version for each language to avoid translation inaccuracies.
Preview:
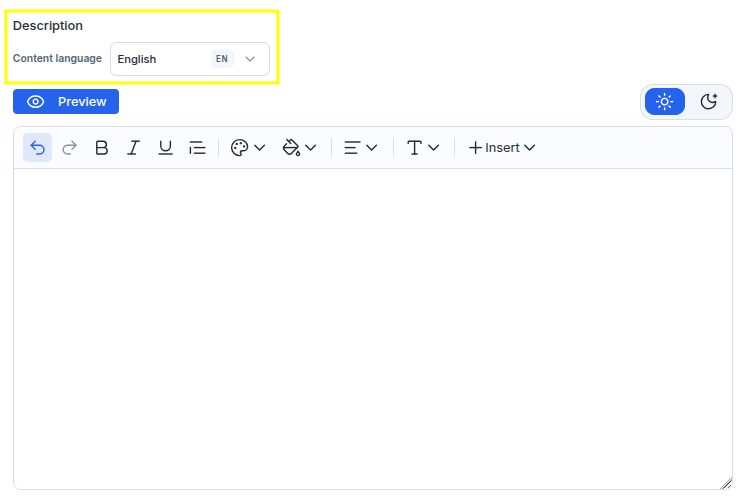
Click "Preview" to check how the description will appear on the event page. You can preview the description before saving your changes.
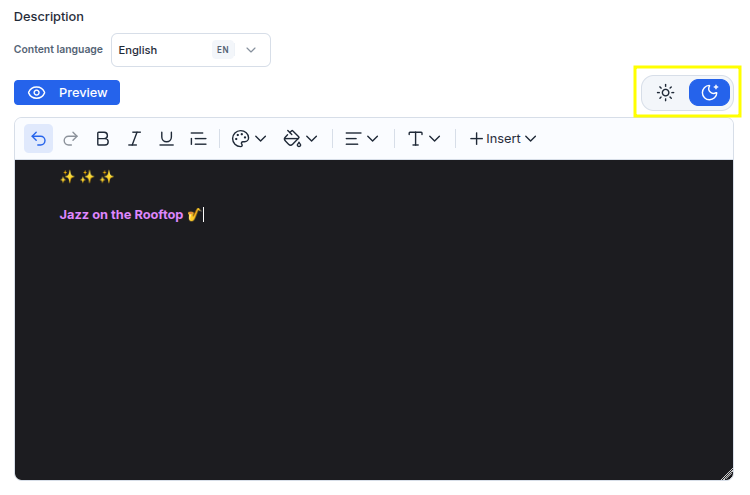
Light and dark themes:
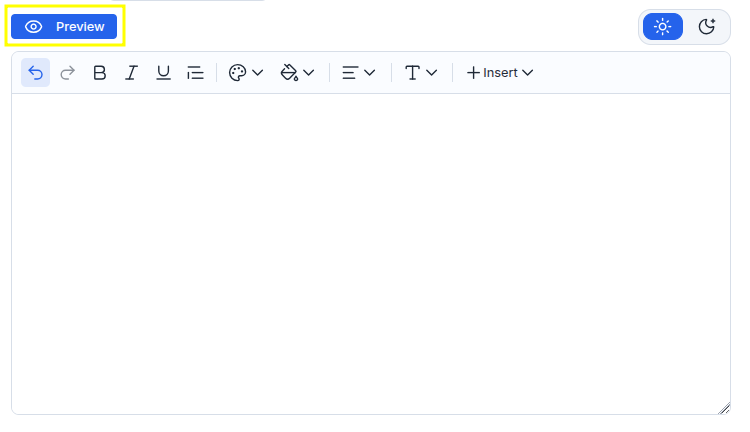
Since the event description is displayed on a dark background, you can use the ☀️ / 🌙 toggle to check how the text and selected colors will look against it.
Undo and redo:
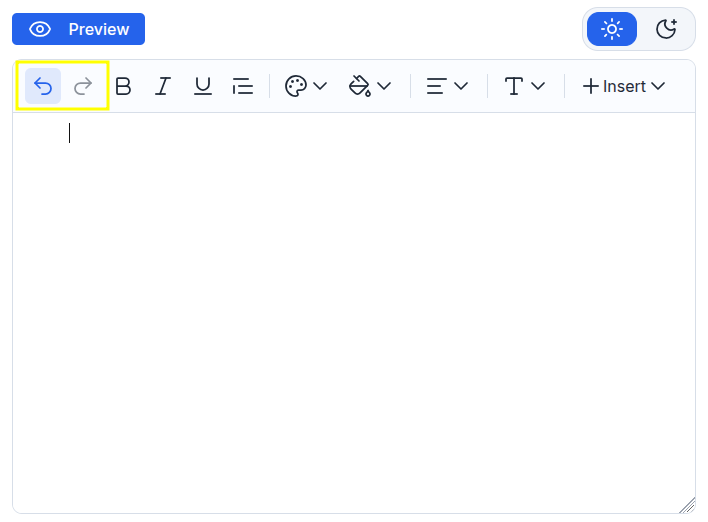
↶ - undo the last action;
↷ - redo the last action.
Example: If you deleted some text, click ↶ to restore it. If you then click ↷, the text will be deleted again.
Text formatting:
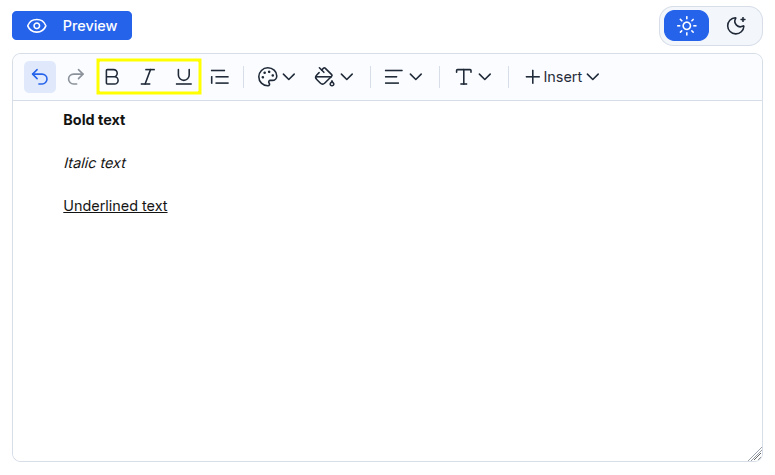
B - make the text bold;
I - italicize the text;
U - underline the text.
You can apply several formatting styles to the same text fragment simultaneously, for example, make it bold, italic, and underlined.
Quote:
- Click the "Quote" icon;
- Enter the quote text in the block that appears.
You can use this feature to highlight a quote from the performer whose concert you are organizing. For greater contrast, you can also make the quote bold.
Text and background color:
Select the desired text;
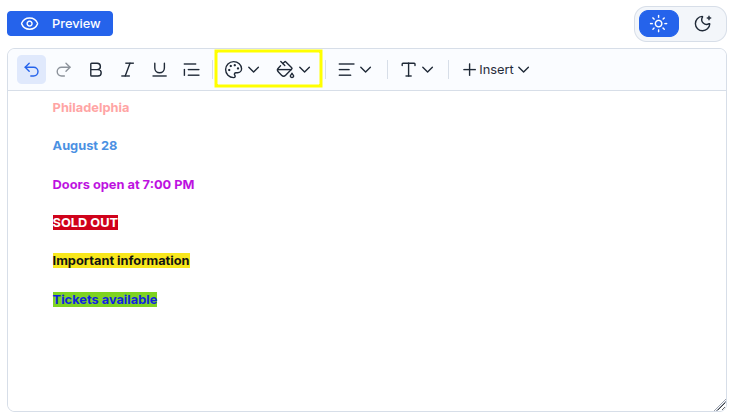
- Click the palette icon to choose the text color;
- Click the fill icon to choose the text background color .
You can use both functions simultaneously by selecting different colors for the text and its background. You can choose one of the preset colors or select a custom shade using the color palette.
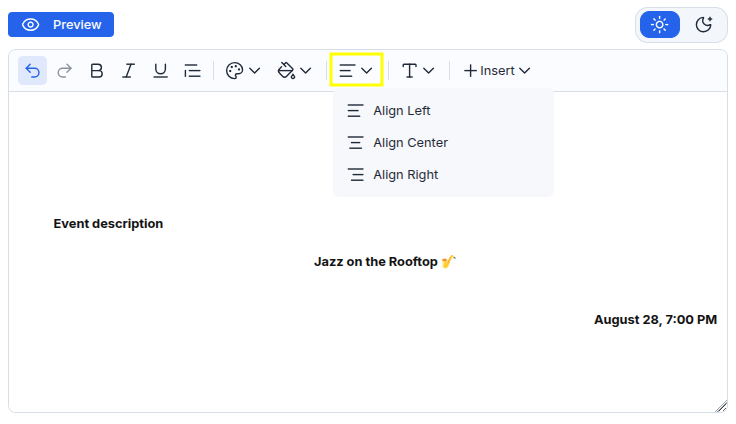
Text alignment:
Select the text or place the cursor in the desired line.
Open the alignment menu and select one of the following options:
Align Left — align the text to the left;
Align Center — center the text;
Align Right — align the text to the right.
Additional text formatting:
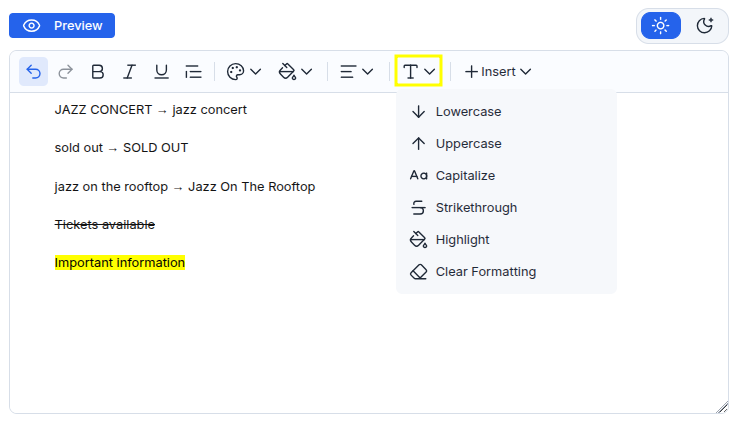
Select the desired text → click the T icon → select a function:
↓ Lowercase — convert all letters to lowercase;
↑ Uppercase — convert all letters to uppercase;
Aa Capitalize — capitalize the first letter of each word;
S Strikethrough — apply strikethrough formatting;
🖌 Highlight — highlight the text with a background color;
⌫ Clear Formatting — remove all applied formatting.
Adding a slideshow:
- Click "Insert";
- Select "Insert Slideshow";
- Click "+" and upload up to 10 images in JPEG, PNG, or WebP format. Each image must be no larger than 15 MB;
- If necessary, add a description for each image in the "Enter description" field;
- To remove an individual image, click the trash icon in its upper-right corner;
- To remove all uploaded images, click "Clear all";
- Click "Add slideshow".
Use the ❯ arrow to navigate through the images in the added slideshow. You can see an example of a slideshow in this article.
Adding an image:
- Click "Insert";
- Select "Insert Picture";
- Click "+" and upload an image in JPEG, PNG, or WebP format. The image must be no larger than 20 MB;
- In the "Alternative text" field, you can optionally describe what is shown in the image. This text can be read by screen readers for users with visual impairments. It may also appear if the image fails to load;
- To remove the uploaded image, click "Remove image";
- Click "Add picture".
Adding events:
This feature allows you to add cards for other events to the description and tell visitors about similar or upcoming events from the organizer.
- Click "Insert";
- Select "Insert Events";
- Find the desired event and click "Add";
- To remove the selected event, click "Remove".
- Click "Insert Event" to add it to the description.
Adding a poll:
A poll allows you to find out the opinion of event visitors.
- Click "Insert";
- Select "Insert Poll";
- Enter a question and add from 1 to 10 answer options;
- To add a new option, click +, and to delete one — 🗑️;
- Click "Post".
A visitor can select one option and click "Vote". After voting, the poll results will be displayed.
All steps are shown in the slideshow below.
Adding a tour:
This feature allows you to add a tour card to the description so that visitors can navigate to its page and view the scheduled events.
- Click "Insert";
- Select "Insert Tours";
- Find the desired tour and click "Add";
- Click "Insert Tour" to add it to the description.
Adding video:
Using this feature, you can embed one or more YouTube videos into the event description.
- Click "Insert";
- Select "Insert Video";
- Paste the link to the video from YouTube;
- Click "Done".
Visitors will be able to watch the video directly on the event page.
Adding blog posts:
Using this feature, you can add blog post cards from EventCartel to the event description.
- Click "Insert";
- Select "Insert Blog Posts";
- Find the required publication and click "Add";
- To remove the selected publication, click "Remove".
- Click "Insert Blog Post" to add it to the description.
You can select and add several publications. Visitors will be able to click on the card and go to the full text.
Saving the description:
- After you finish editing, click "Save Changes". The description and all changes will be saved and displayed on the event page.